
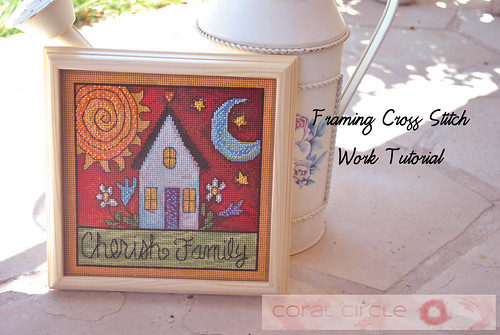
As I was saying a week ago in my cross stitch tutorial, this summer I managed to finish two cross stitched pieces - one being a Mill Hill and another one is made on linen fabric.
My grandma made me two frames to put these pieces in and that made the result that much more special!
So today I will show you how to frame a finished cross stitched piece.
Note: This technique can be applied to any embroidery work, or anything fabric, really.
Because framing a Mill Hill work is a little different, I am going to jump back and forth a little to explain the differences in technique when framing a Mill Hill versus the fabric.
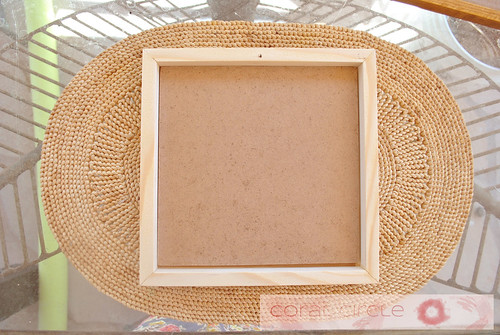
You will need:
1. Finished work ironed from the back side. (mine on the picture is already mounted to the backing...)
2. Strong thread of any color (preferably thick)
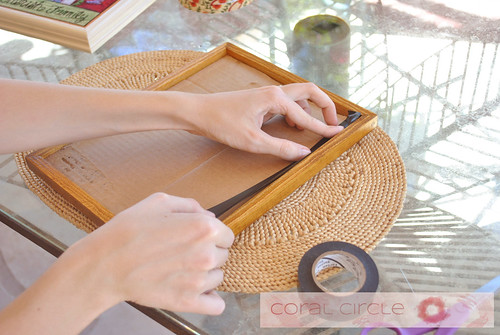
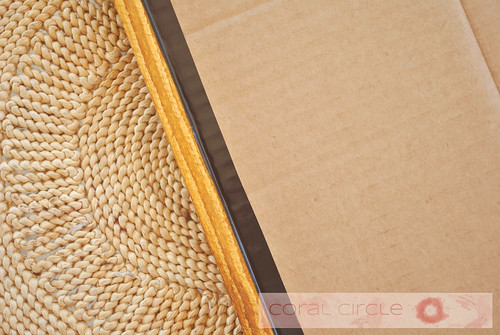
3. I used insulation tape to attach the cover to the frame, but you can use fabric soaked in carpenters glue, or anything that will keep the frame and the backing together.
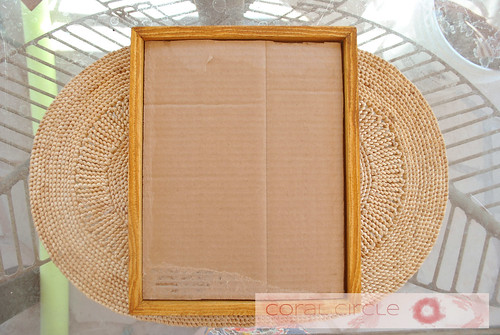
4. A piece of cardboard cut into a size, that fits snug inside the frame.
5. I used thin particle board as backing to mount my canvas on, but you can use foam board that fits your frame as long as it's sturdy enough to hold the stretched canvas and not loose its shape.
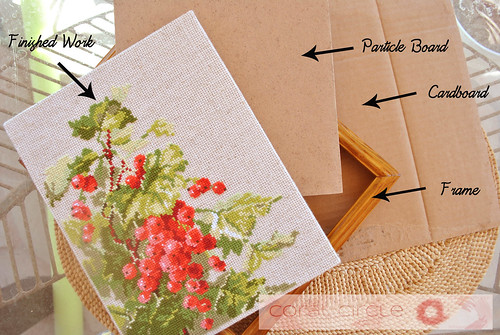
When framing Mill Hill you use perforated cardboard, so no mounting is required. This means you will only need either foam board or cardboard to secure the finished piece inside the frame.
Now this is what you have to do:
When the finished work is on the cardboard the framing is really easy!
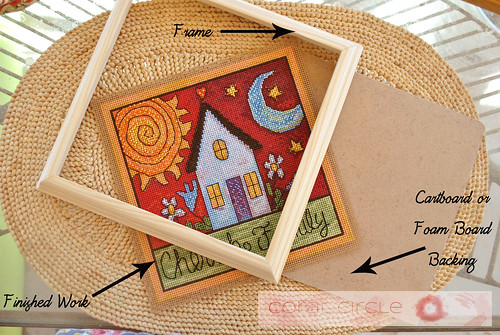
1. You put the finished work in the frame.
2. Put the backing behind it.
3. And tape the backing to the frame.
Then you can hang your picture just by the frame or use various mounting options. I just use a little nail and hang it by the frame itself.
Now with the canvas cross stitch work there are a couple more steps to framing it. And these steps are more likely to be used for other stitchery work.
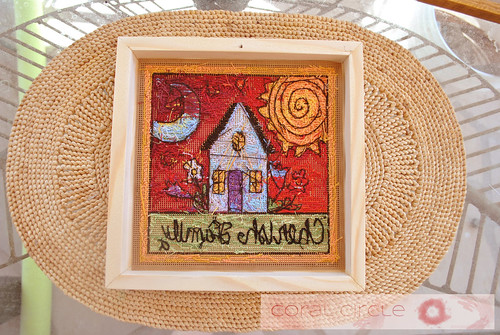
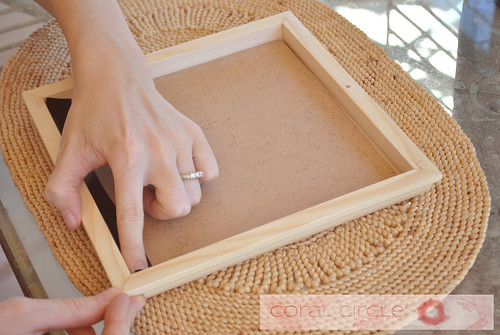
1. You position your finished work on the particle board or foam board backing, then tape the corners and the sides positioned as shown on the image below.

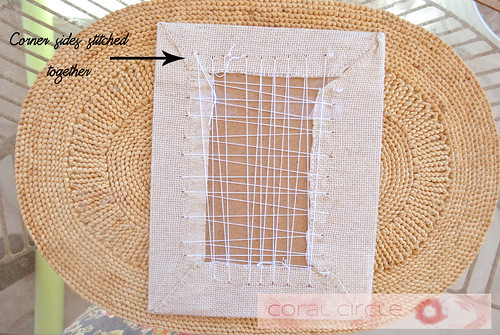
2. Then you take a thick strong thread and a big needle and stitch the corner sides together (see the photo, as it is kind of hard to explain) and then secure your work by criss-crossing the thread back and forth as shown on the photo.
The rest is the same...
3. Put the finished work in the frame.
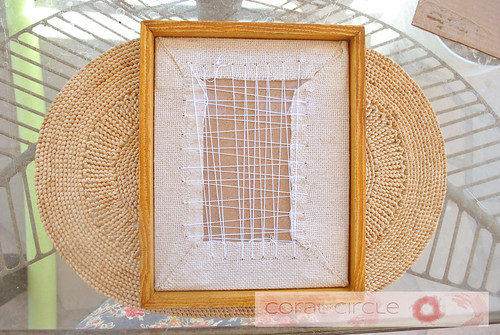
4. Put the backing behind it, this time backing can be cardboard or any other material named above.
5. And... Yes, you guessed it right - tape the backing to the frame.
And we are done! Now just find a pretty spot for it, where everybody can see it! Both of my pretties went into a kitchen.
No comments:
Post a Comment